The Real Insight is a must-read consumer newsletter that delivers important news about the real estate market right to your inbox every week. The Real Insight will benefit readers with hand-picked articles and curated content that puts our expertise in the real estate industry to work for you. Learn about the best time to buy or sell, when to start (or stop) that pesky remodeling project and how the larger real estate market could impact your decision on whether to invest in real estate—and when. You’ll also receive reliable seasonal articles during tax time and DIY decorating tips for the holidays. Subscribe to The Real Insight today and get informed!


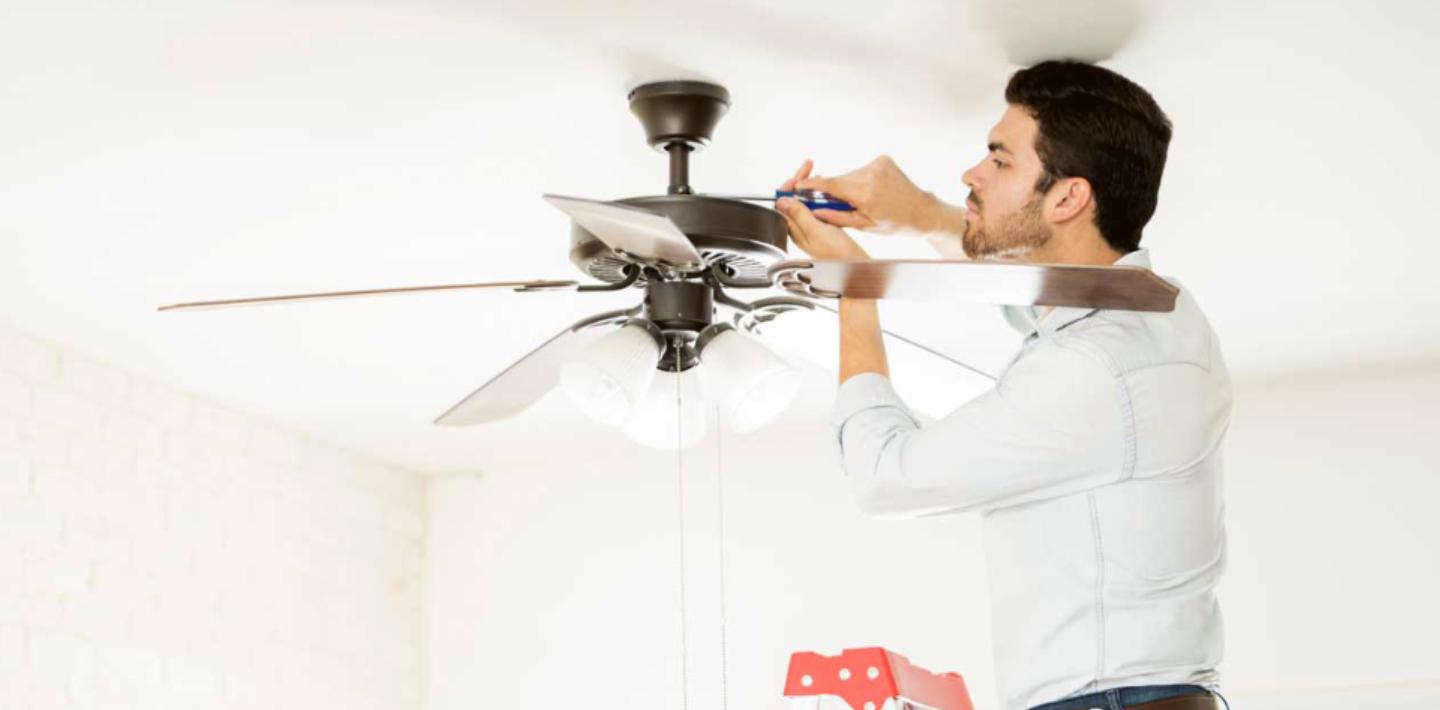
Are you tired of sweltering heat during summers and want to install a ceiling fan but don't know how to? Installing a ceiling fan can be a great way to keep your home cool and comfortable, but it may seem like a daunting task. However, with the right tools and some basic knowledge, it can be a straightforward process. In this guide, we'll provide you with 5 simple steps to follow to install your ceiling fan like a pro.
Installing a ceiling fan can seem daunting, but with the right tools and some basic knowledge, it's a relatively straightforward process. Here are the 5 simple steps to follow:
Step 1: Gather your tools and materials. You will need a ceiling fan kit, ladder, screwdrivers, wire cutters, wire strippers, electrical tape, and a voltage tester.
Step 2: Turn off the power to the existing ceiling box by switching off the circuit breaker. Use a voltage tester to double-check that the power is off before starting the installation.
Step 3: Remove the existing light fixture or ceiling fan, if there is one. Install the ceiling fan mount by following the manufacturer's instructions. Make sure the mount is securely fastened to the ceiling box.
Step 4: Assemble the ceiling fan by following the manufacturer's instructions. Attach the fan blades, light kit (if applicable), and any other components. Then, mount the fan to the ceiling mount.
Step 5: Connect the wires according to the manufacturer's instructions. Typically, this involves connecting the wires from the fan to the wires from the ceiling box using wire nuts. Secure the wires with electrical tape, and tuck them neatly into the ceiling box. Attach the canopy to cover the wiring and complete the installation.
Installing a ceiling fan can be an intimidating project, but it doesn't have to be. By following these 5 simple steps and using the right tools and materials, you can install a ceiling fan in no time. Just be sure to read and follow the manufacturer's instructions carefully and double-check your work before turning the power back on.